Surely, many are already familiar with the device Leap Motion and the cases of its use for hand gesture recognition tasks. If you have a VR helmet, for example, Oculus, HTC Vive or another, and there are no hand controllers to them, then you can use Leap Motion.
After a bit of torment and pouring out forums with answers, I decided to write a tutorial how to connect Leap Motion to Steam VR, since this is by no means always obvious.
This article will discuss how to connect this device to the Steam VR and use it instead of the original Vive controllers:
Video tutorial
Text option
1. Of course you must have Steam installed and Steam VR application.
2. Next, you need to download and install the drivers Leap Motion Orion Beta
3. Download the Leap Motion SteamVR driver from the latest releases, unzip and install it.
4. In case you use Oculus, Oculus Home must be installed on your system.
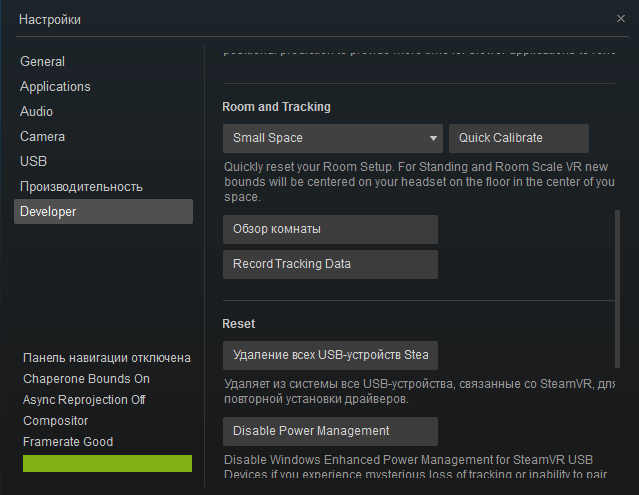
5. If you see a bug or the message that the helmet is not connected or ready when you start Steam VR, then it’s worth trying to go into Steam VR / Developer settings and perform “Removing all Steam VR USB devices.”

Then restart the computer and try again. If the drivers are successfully installed, the Oculus helmet on the Steam VR should look like this:

6. Next, if it is not detected on the Steam VR when you connect the Leap Motion controller, copy the driver’s leap folder C: Program Files SteamVR Leap Motion Driver leap to the folder C: Program Files (x86) Steam steamapps common SteamVR drivers

Restart completely Steam or reboot the computer. If the controllers do not appear in the Steam VR, go to step 7.
7. Correct the contents of the file C: Program Files (x86) Steam config steamvr.vrsettins to the following, restart completely Steam or reboot the computer:
 {
   "Steamvr": {
      "ActivateMultipleDrivers": true,
      "AllowReprojection": false,
      "Allowmultipledrivers": true,
      "MirrorViewGeometry": "0 0 960 540"
   }
} 
8. As a result, after all the manipulations, you most likely will have such a picture in Steam VR:

Controllers flashing smoothly.
9. Run applications that support Steam controllers and use Leap Motion!


